Over the winter I obtained two 55 gallon steel drums with the idea that I would convert them into garden “boxes”. I haven’t met too many people who enjoy gardening while kneeling so having gardens at waste level makes great sense. 55 gallons is a fair amount of volume so filling both barrels completely full of dirt did not sound like a good use of money nor effort, especially if I ever wanted to move them.
Step One: Source your barrels
I was fortunate enough to find a local brewery who was looking to get rid of a handful of barrels. These barrels came with the lid, which was what made the project work. Without the lid you’ll need to source some other material to make up for the lack there of. They previously held pureed fruit that went into one of their beers so no need to worry about weird chemicals leaching into my plants. Thanks to the brewery for evening cleaning them out for me!
Step Two: Gather your tools
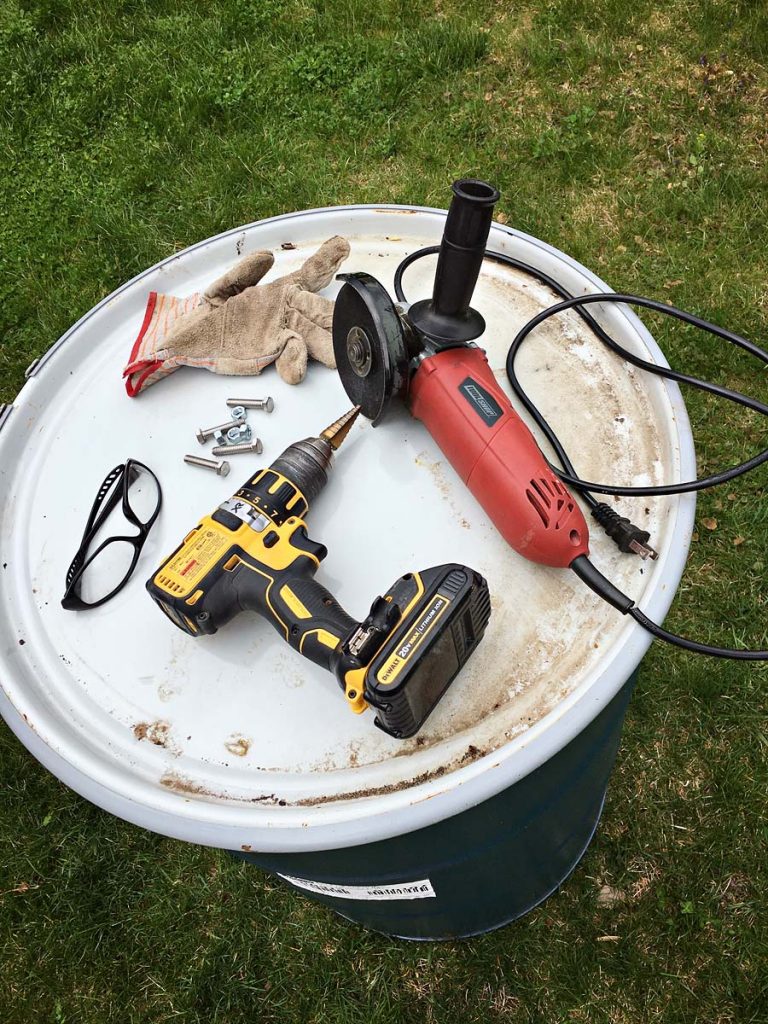
For this project you will need the following
- Drill and step drill bit
- Angle grinder with cut off wheel
- 1/4″ x 2″ stainless steel bolt and matching nuts (qty 4)
- Eye protection
- Ear protection
- Work Gloves
Step Three: Drill
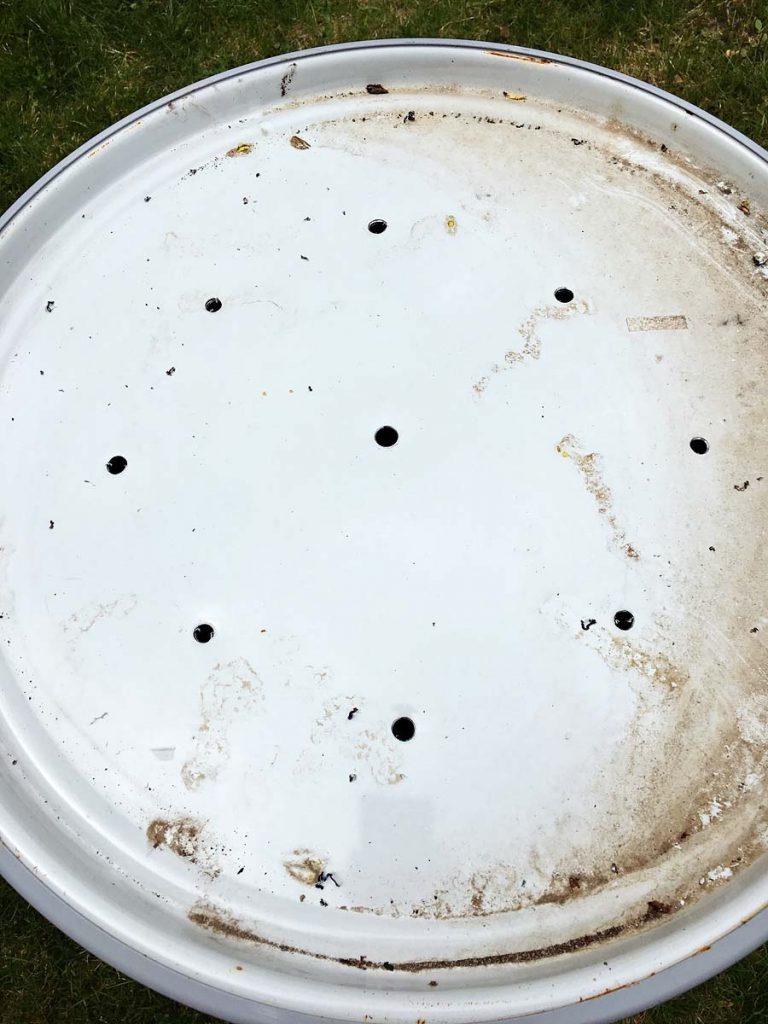
Drill a handful of holes into the lid of the barrel. These holes will help to ensure water can drain out of your barrel. How many holes? I went with one in the middle and eight more to form a circle.
Step Four: Grind Away
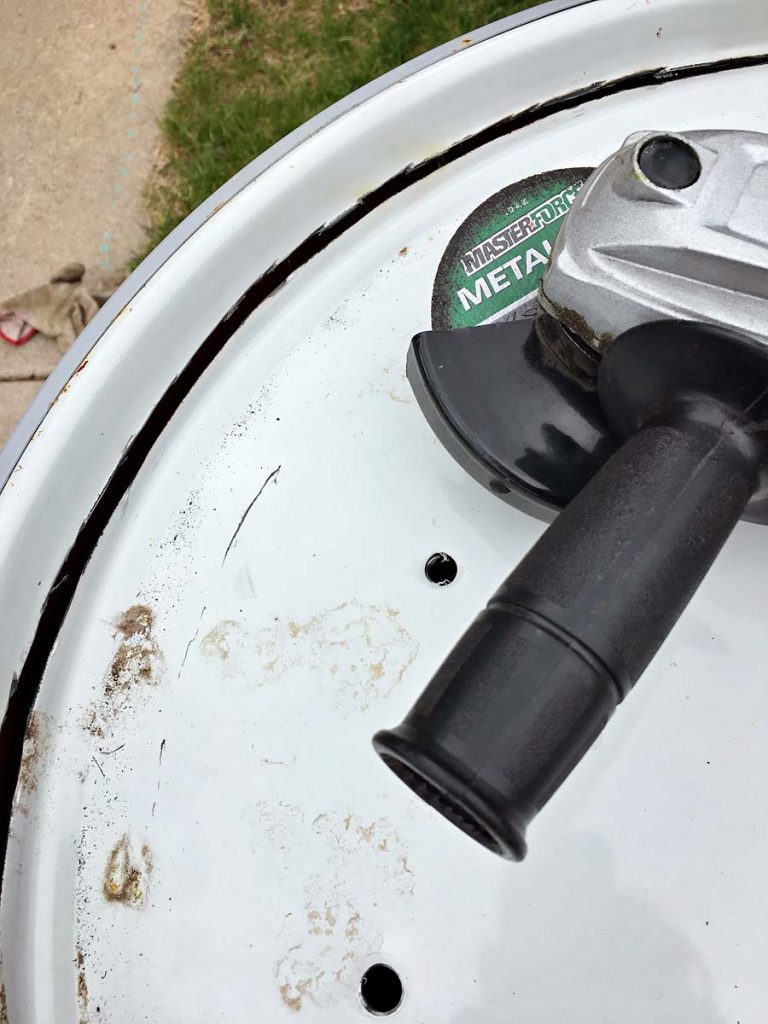
Taking the angle grinder, cut out the lid. You will want to keep the lid as large as possible. The intention is to create a disc that will now fit down inside the barrel. The barrel I used had a nice indentation forming a circle that was easy to use as a guide. It doesn’t need to be perfect but you also don’t want to go so deep as to cut into the barrel itself. Make sure you are wearing eye and ear protection, flying sparks of hot metal are no joke. After you have cut the lid use the flat portion of the cutoff wheel to clean up the rough edges.
Step Five: More drilling
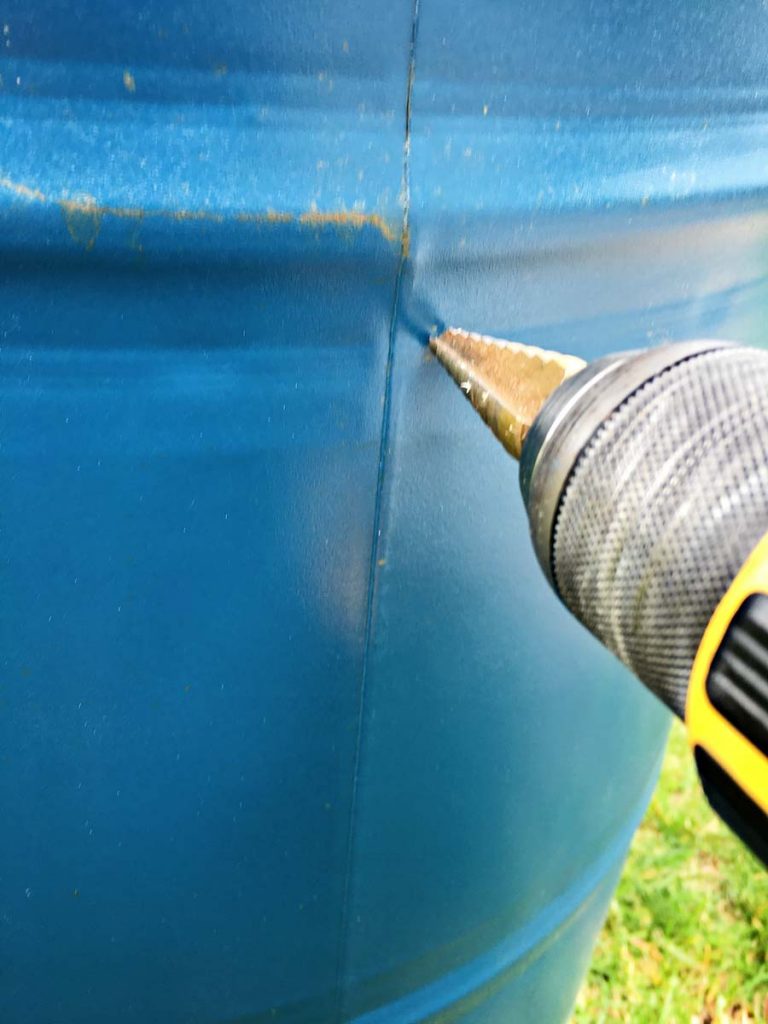
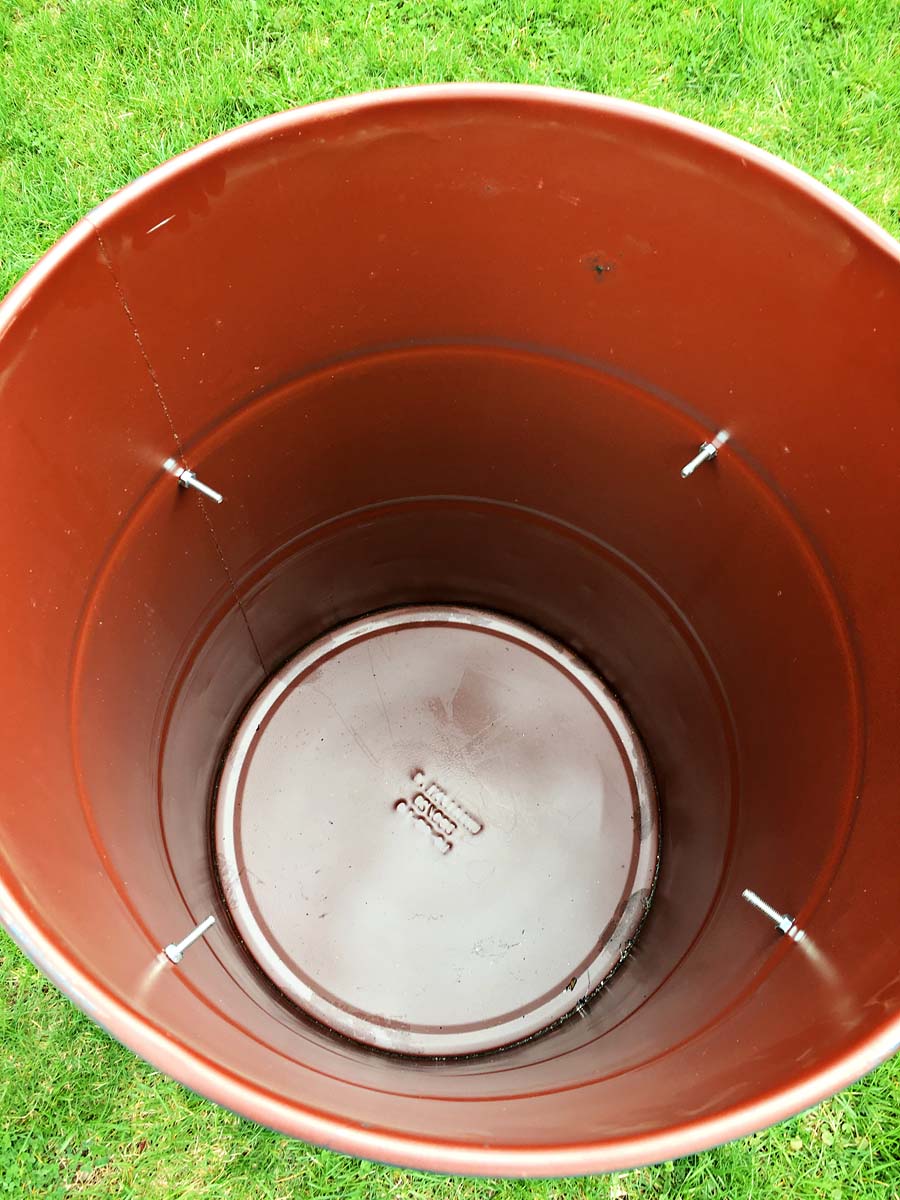
Drill four evenly spaced holes around the circumference of the barrel. I wanted to have 12 inches of dirt in my barrel so I went down 16″ to allow for some added space. Feel free to go as far down as needed for whatever you intend to grow. The step bit works great to ensure you have the correct size hole for your bolts.
Step Six: Insert the hardware
Insert each of your 1/4″ stainless bolts and secure them from the inside with a matching nut. These bolts will act as the support for the lid that will be placed on top of them.
Step Seven: More drilling
Flip the barrel and drill nine more large diameter holes. This will allow water to drain out of the bottom of the barrel as you water your plants.
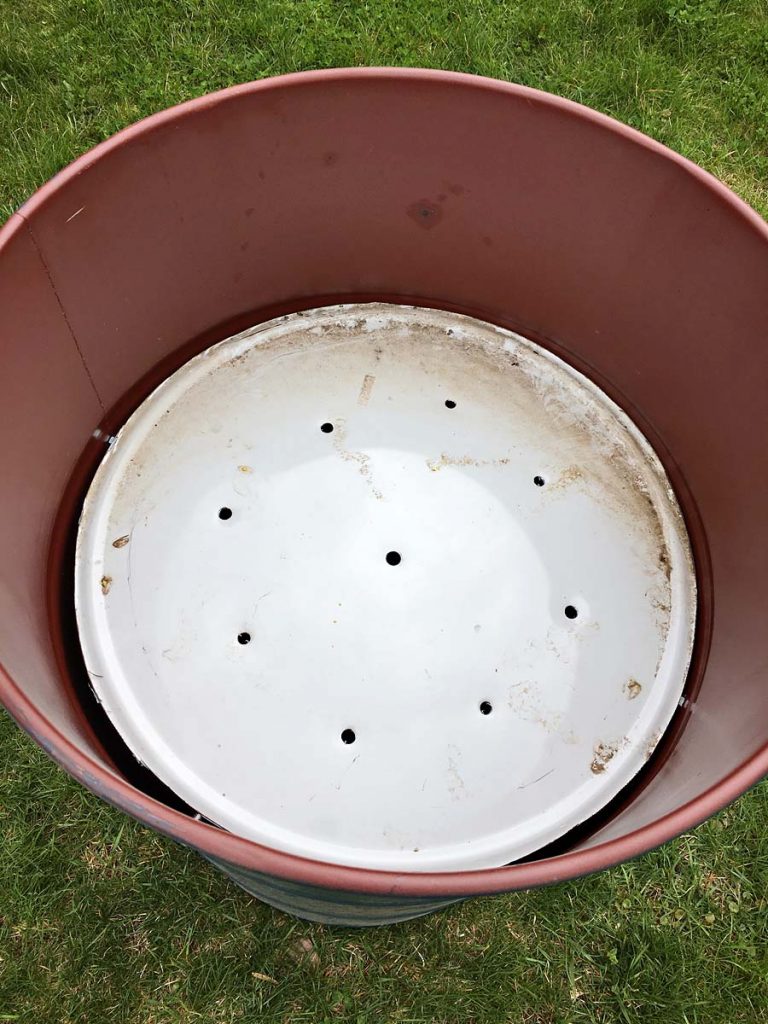
Step Eight: Insert the lid
You should have a gap around the lid but not one that would be so big as to allow too much dirt to fall over the edge once you begin to fill the barrel. If there is too much of a gap I’d place some medium size rocks to fill the void.
Step Nine:
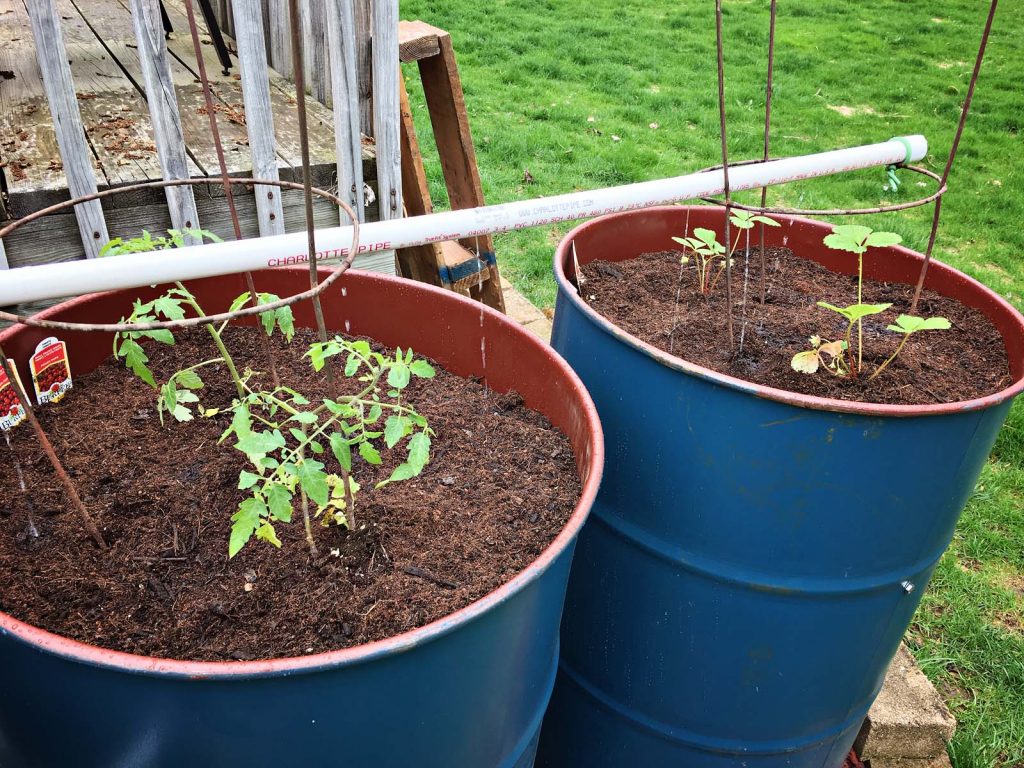
Place the barrel in your desired location. Mine was placed on top of a rock garden to ensure good drainage. Fill the barrel with dirt and plant your garden.
I setup both my barrels next to an existing garden box and was able to add an extension from my PVC irrigation system.
Conclusion
Am I an expert on this? Absolutely not. I’m hoping that the small tomatoes and strawberries I planted will flourish. I’ll report back later in the year to see if things were successful. If you found this helpful feel free to leave a message in the comment section.
I am getting ready to start my barrel project,now I know I am on my way to get started,I am up in age, and I don’t feel like bending over so much,thank you for helping me out ????
Thanks for the information ??
To