This past weekend I set out on a mission to build my own light box. Following the directions listed by Bill Huber on his website the whole project will not set you back more than 15 dollars. Instead of gluing my pieces of PVC together I decided to run bunjee cords throughout so that I could dissasemble the box for stograge (much like a camping tent pole).


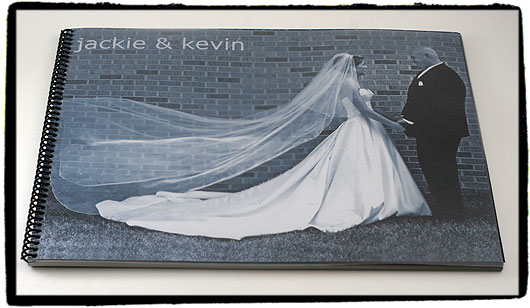
In other news we also received our first sample of the proofbooks that we will be offering. The books are 11×14″ and have a spiral binding and includes a photographic cover. I think they look really sharp and would be a great way of showing all the photos from ones wedding.


cool! seems to work pretty well!
i love the bungie/shock cord idea to make it collapsable…could you give a little more detail on how you did that?
thanks!
I took some bunjee cords that I had around the house (they were pretty flat type bunjee cords) and inserted it through the pvc tubing by attaching one end of the cord to a piece of string (pushing the bunjee by itself was impossible) so that it could be pulled through.
Once I had the first piece of tubing threaded with the bunjee I had my wife pull on the bunjee so that it would be taught and I drilled a hole through the pvc tubing and through the bunjee cord. I then inserted a small nut and bolt through the hole to keep it in place. I then threaded the rest of the corner and tubing and then fastened it the same as before on the other end.
My setup breaks down into two pieces (front and back).
Does that make any sense?
hmm…sort of. I can’t visualize how the pieces connect together. Any chance of seeing a couple more photos? See what happens when you have a great idea? People like me bug you for details. 🙂
Interestingly enough, I just stumbled on this similar post from a photographer in Grand Marais.