Having gotten into brewing my own beer in the past year I�d grown quite sick of having to bottle it all because of the time it requires to do it. Hanging out in the Northern Brewer forums I was amazed at some of the cool kegerators that the forum members had built themselves. The best thing about having your own kegerators is that instead of two hours of bottling it only takes about ten minutes to get your beer into a keg and then instead of waiting 3 week for it to naturally carbonate itself you can force carbonate your beer with co2 and have it ready to go in about five days or even less if you want.
The majority of kegerators that I had seen pictures of online were bare bones kegerators built for the sole purpose of dispensing beer. I had grander ideas. When Laura, who was my girlfriend at the time, purchased her house she had always said she�d like to have a bar for entertaining in the basement. I figured this was the perfect reason to combine our two wishes together. A bar for entertaining, with a kegerators built in for dispensing beer.
After a little research online I decided on a design in my head (drawings? plans? Hah!) and headed to Home Depot to purchase the base for what would someday become the Haraldson Family Brewpub
At Home Depot I found a seven cubic foot chest freezer made by Magic Chef. I picked out this freezer because of its ability to hold at least four corny kegs or one full size half barrel. My fly by the seat of the pants approach was tested as we went to put it in the back of my car. If it was just an inch bigger it wouldn’t have fit.
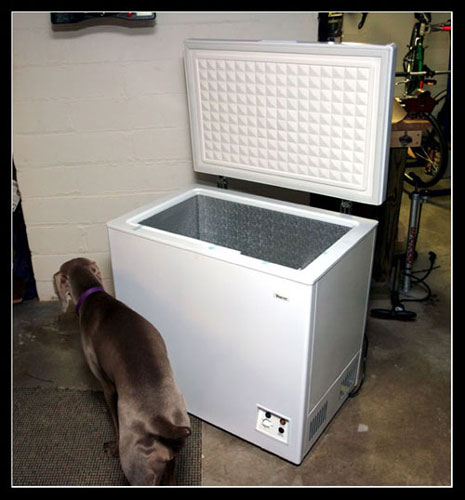
Once I had gotten the freezer home the first thing I needed to do was remove the lid. The reason for doing this is so that I can build a wooden collar that will extend the height of my freezer. This will allow for more room for the corny kegs, tubing and fittings etc. It will also allow me to mount a distributor and any gauges that I might like to have inside.
![]()
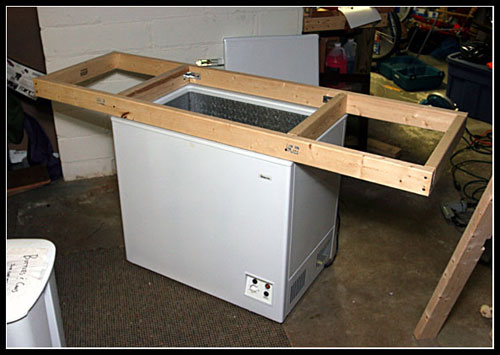
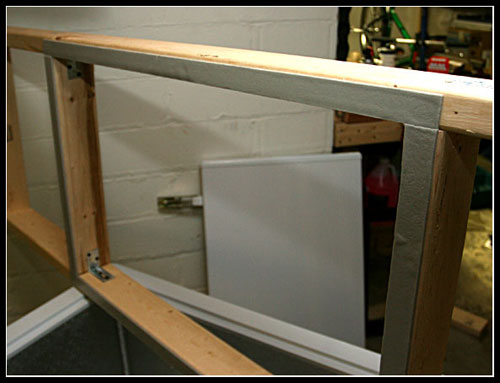
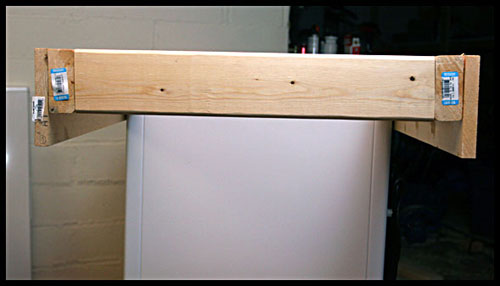
Building the collar you can see I extended the length of my collar to be six feet long. This will be roughly the size of what I plan will be the bar top.
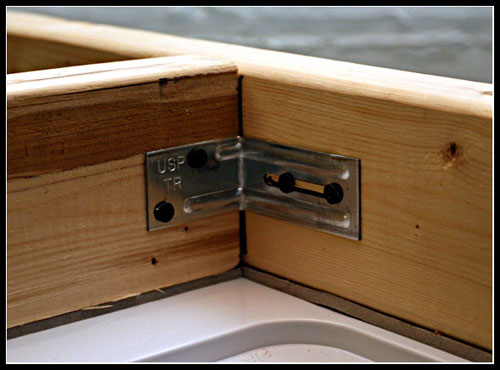
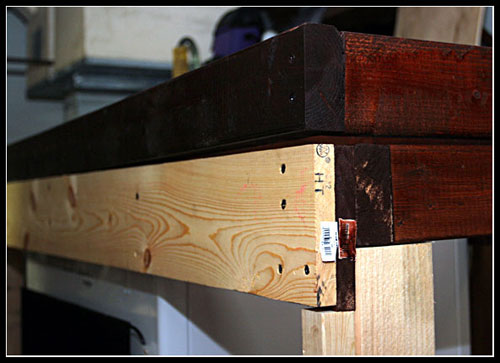
I used an L bracket in each corner to give it a little more strength.
I used some basic weather stripping along the bottom of the collar to help insulate. A little later on I will use some silicone calk to really make a good seal. This is key to help keep down the amount of condensation that is inevitable.
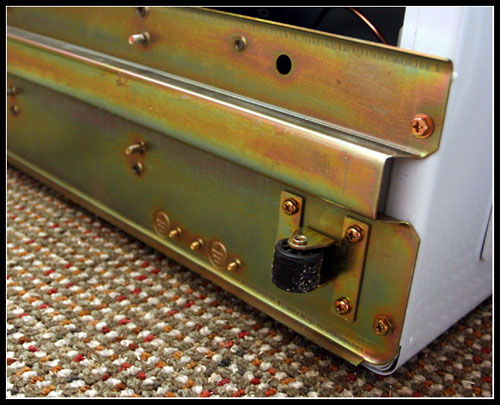
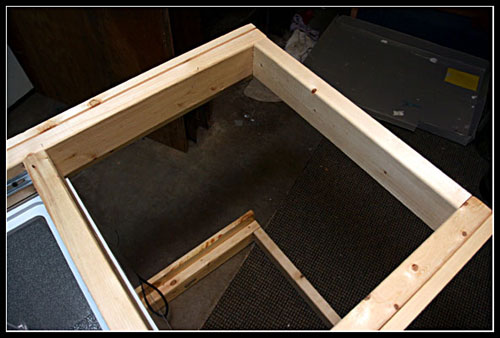
I will also be making a base, just like the top, to raise the bar up some and give me something to build onto. Flipping the freezer on its side I removed the coaster wheels but also noticed that the motor was mounted to a bar along the bottom that stuck out about an inch.
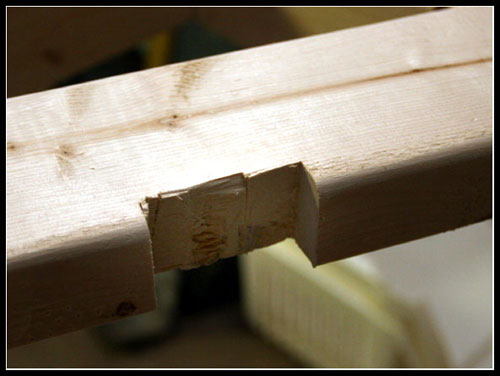
This gave me a reason to use my jig saw and notch my two boards that will run across the bottom. Don�t worry about the rough look this will all be hidden in the future.
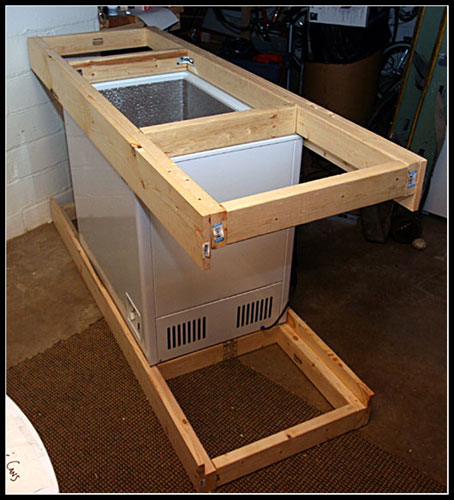
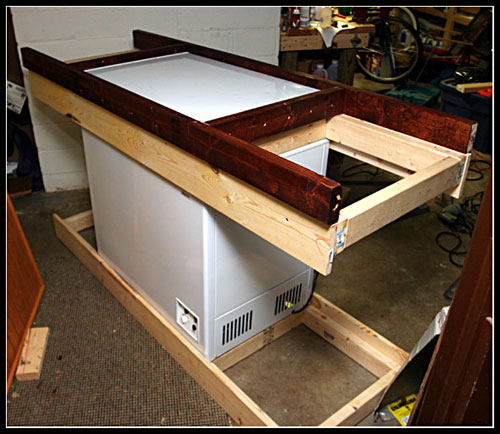
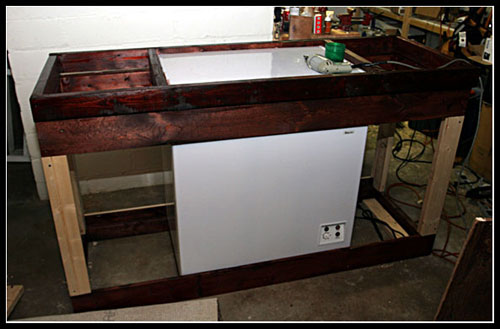
Now that both the top and bottom collars are built I added two six foot 1×6″ pieces of pine to each side. This will help for two reasons. First it will keep the collar planted squarely on top of the freezer and secondly it will give me about and inch of room around the sides of the freezer which will come in handy when I mount the plywood to the front of the bar. One concern about enclosing the freezer inside the bar is that it might overheat. Having this extra space around the walls will allow for air flow.
The next step is to start work on a collar that will fit on the freezer�s door. The key part to doing this is to make sure that the door was level inside the collar so that when you shut the top it will still for a tight seal on the wooden collar that sits on the top of the freezer.
What I ended up doing was placing some heavy books on top of the freezer door so that it formed a tight seal on the floor. I then attached 2×4�s to the side using Gorilla Glue and screws. The Gorilla Glue expands as it sets so they recommend having the pieces you are gluing together in some kind of vice. By screwing the boards together and into the freezer itself created its own vice and gave me a really strong bond.
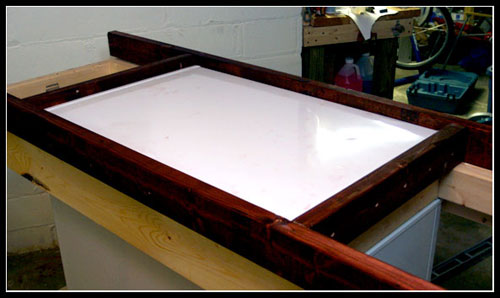
As you can see the 2×4’s are a bit taller than the freezer door but this should work well for adding some more support for the beer tower when I get to that.
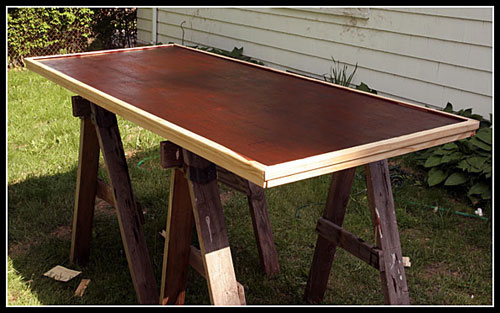
Now that the basic collar is built I decided to begin work on my bar top. After determining the size that I needed for the bar top, factoring in an overhang on the front and sides so that people could sit at the bar, I cut my sheets. I used a piece of 3/4″ rough plywood, for strength, and a piece of 1/2″ birch plywood that would serve as the top surface.
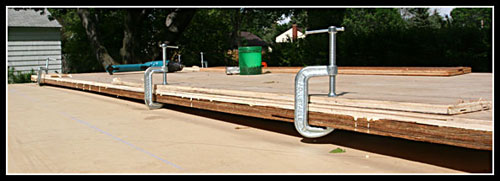
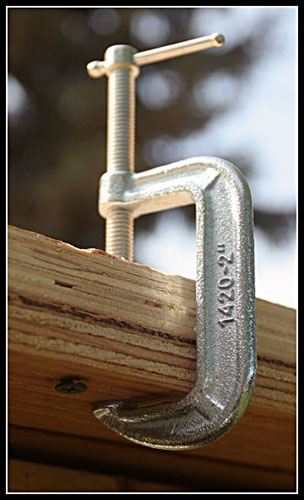
I used wood glue and c-clamps to hold it together as well as a few short screws put into the bottom to keep everything nice and tight.
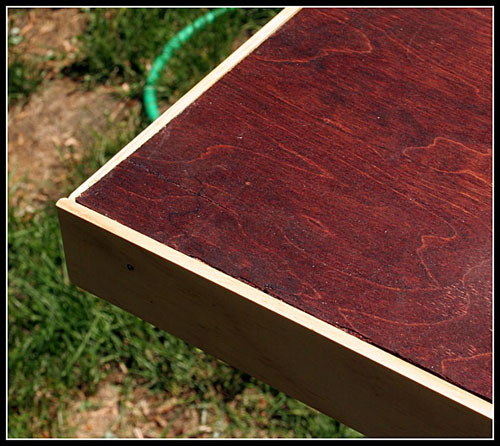
After a quick coat of stain of both the top and bottom I next glued and tacked on some 1/4″x2″ trim to the sides to hide the rough plywood edges.
Once the glue holding the trim on had I dried I added a piece “L” corner shaped trim that wraps around the edges of the top and gives a nice rounded edge to the bar top for when people want to lean on the bar.
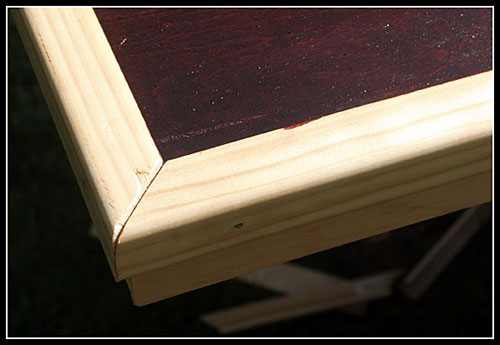
With trim complete
With the bar top construction finished I turned my attention back to finishing the framing of bar.
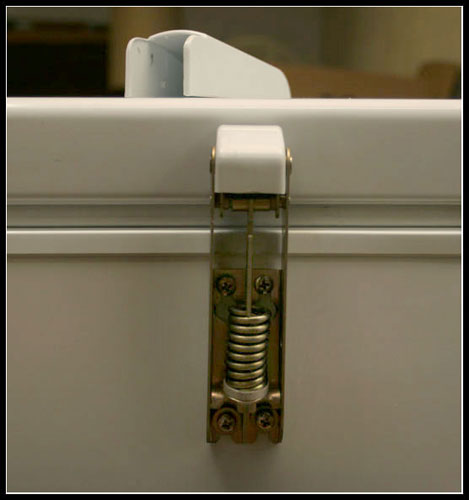
Also added a piece of 1×4 across the entire back to allow me to mount my hinges.
With the hinges attached.
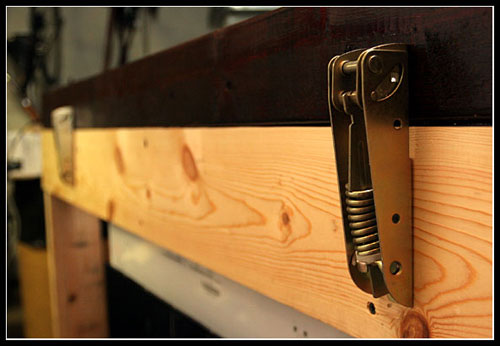
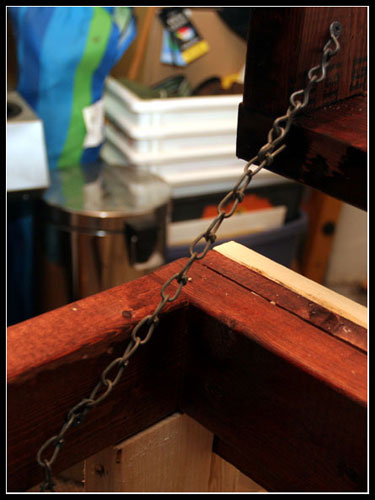
A bit of chain on the inside of each end takes a little bit of the stress off the hinges when the top is open.
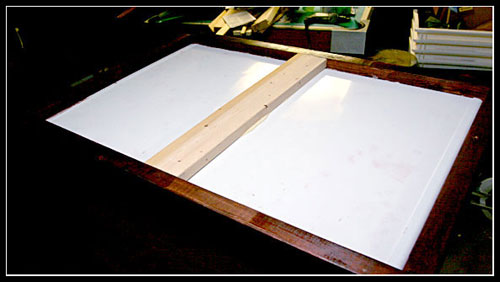
My next step was to cut a piece of board to fit in to the bar top frame. This piece of wood will be needed for two reasons. First it will give me something to mount my tap tower to and it will also act to insulate the beer lines as they run down in the chest freezer.
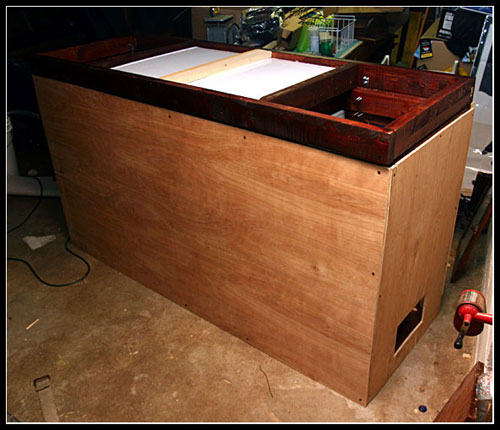
The bar is starting to take even more shape as I added the front and sides on. I used the same birch plywood that I used for the bar top.
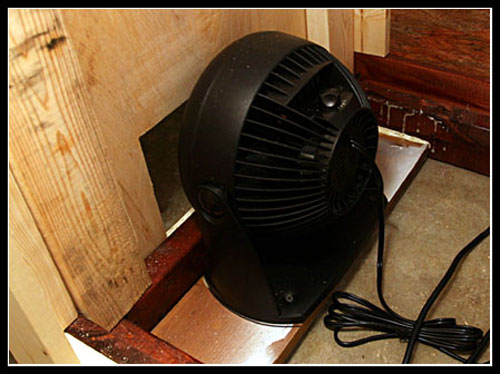
Inside the bar I mounted a utility fan on each side. This will pull any hot air that is trapped inside the bar and keep the chest freezer from overheating.
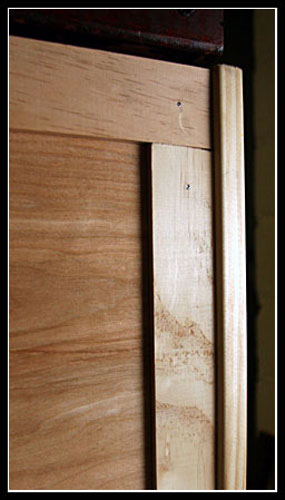
Doing a little bit more finishing work I used the same 2� wood stripping to give the front and sides of the bar a little bit more depth.
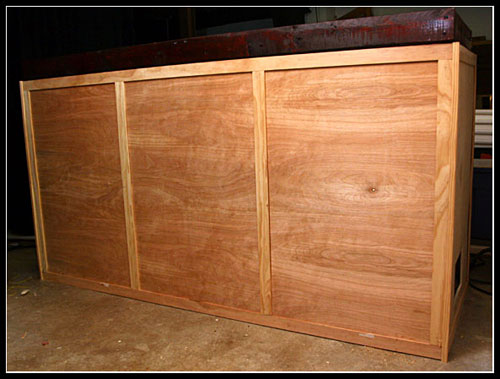
As well as the same corner trim used on the bar top on the edges of the frame.
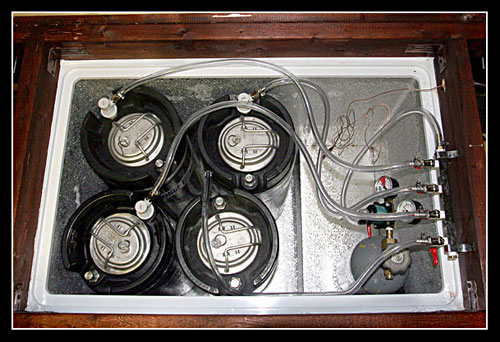
I also started installing some of the technical parts of the kegerators. I mounted a spot for my Johnson Temp Controller. Because I�m using a chest freezer I need a way to control the temperature inside the freezer to keep it from freezing. This temp controller plugs right into the power cord of the freezer and allows you to set the temp yourself. I plan to keep it right around 38 degrees.

Now with the temp controller installed I figure I might as well get some beer in there. A stop at my local home brew supply store I had all the parts needed to serve beer. Just not as fancy as it will be in the end.
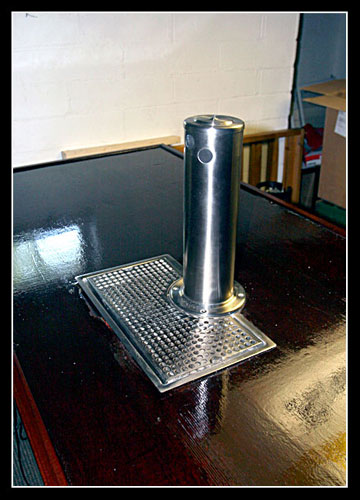
Now the really fun stuff begins. Using a bit of cardboard I made a template to figure out the proper hole to cut for the drip tray. Then using blue painters tape I masked off the top of the bar where I would need to cut. Using a drill to start a hole I then used my hand held jig saw to cut out the opening.
I also got around to staining the bottom of the bar.
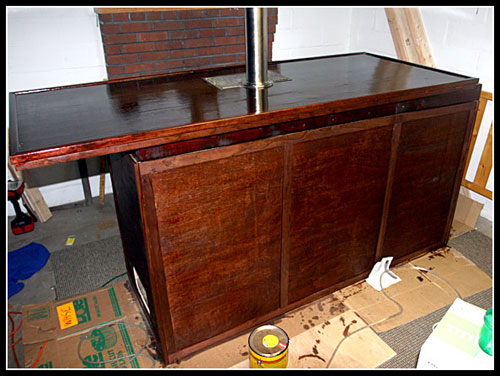
After I cut the hole in the top of the bar top for the inlaid drip tray a lot of the polyurethane I’d gotten up so early each morning to apply started to peel away. This looked pretty bad so I decided to just drop the extra money and invest in an epoxy coating.
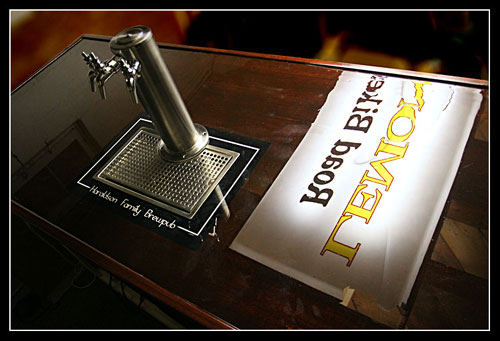
This stuff is a two part setup that you mix together. Then you drip it all over the top of the surface, spread it out evenly and let it dry.
One little extra that I decided to do was make a custom 16×20″ print with my name on it that would go around the drip tray. I think it came out pretty cool and definitely gives the bar a nice little look to it.
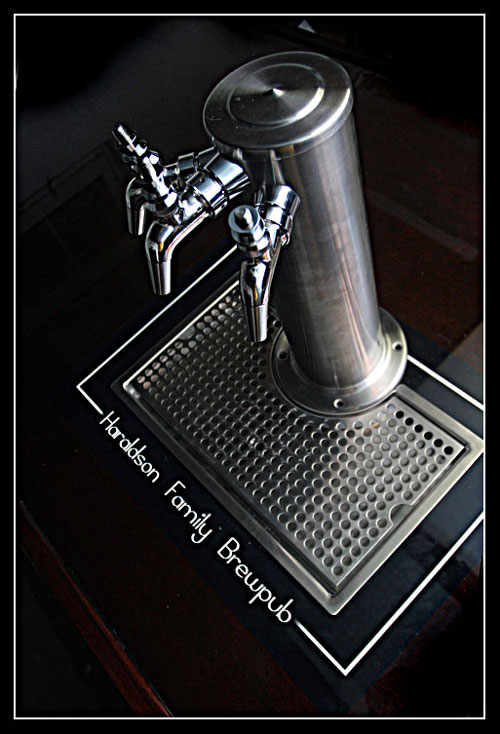
I didn’t document installing the actual faucets and hardware but if you want to find a good how to feel free to check out this
I was a little disappointed in the less than glossy look of the polyurethane I had on there originally. Not the case with this epoxy coating. That’s the reflection of the light I have on the ceiling. It looks like about 50 coats of poly!
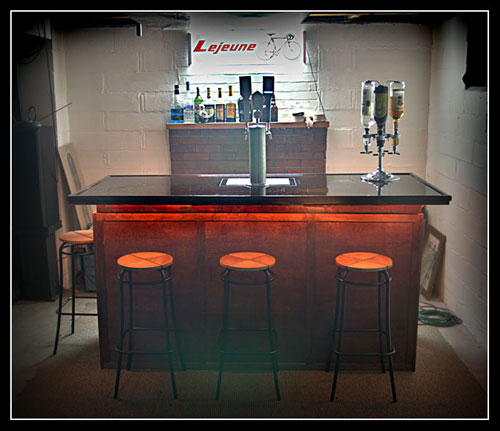
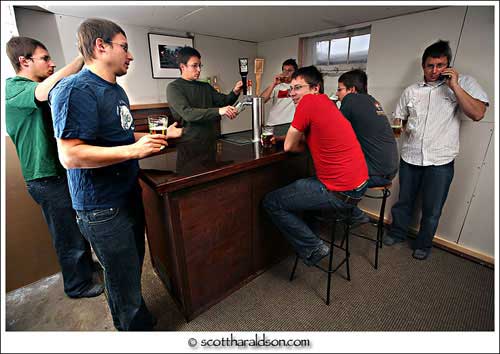
Now the only thing to do was to get a few tap handles and throw a party! So that�s just what I did. Laura and I had people over at our house for a couples wedding shower. A perfect time to break in the bar for the first time. Having had no time to brew my own beer I picked up a 5 gallon keg of Summit E.P.A and a keg of Rush River Bubblejack I.P.A.
Nikki, Melia, Michelle, Katie and a host of others did an awesome job with some great food and we got a lot of cool gifts. By far my favorite has to be the drink caddy thing from Slim and Nel (seen in the photo). I might just become an alcoholic with beer on tap and instant access to White Russians (Also received a bunch of alcohol to get the bar stocked a little). The Ketal One and Gray Goose is a bit of a step up for Laura who normally goes for the Karkoff.
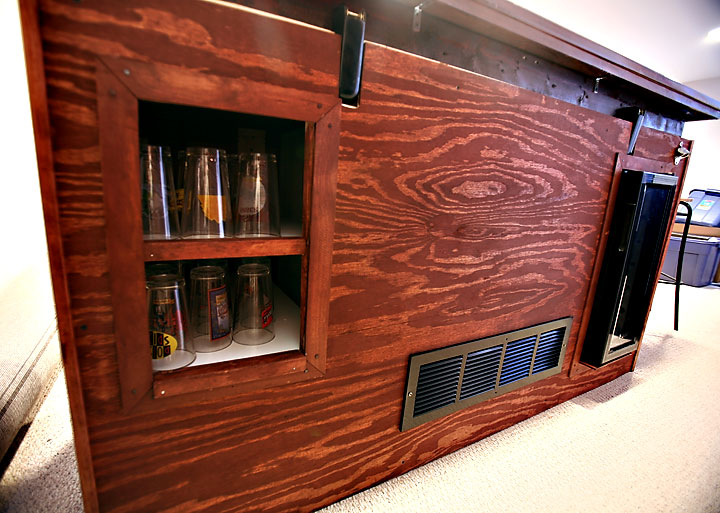
Because there are still a lot of people finding this post via Google/etc I thought I’d post and updated photos of the back of the bar.� I installed a vertical wine cooler (for the wife) on one side and storage for pint glasses on the other.
Looks awesome Scott. Very nice job!
How long did this project take?
This took me about three months to finish. Most of that time was waiting for the faucets to come back into stock. Depending on your free time if you were industrious you could have this done in a few weeks.
How does the freezer stay attached to the bottom collar? Is there an L joint screwed in that keeps it in place?
awesome job! maybe I missed the explanation somewhere, but how are you accessing the kegs? does the entire top lift off?
Nice job, very clean. I saw your pick in a catalog/magazine(???) and noted to my wife that all the guests looked the same.
Does the freezer not keep the beer too cold?