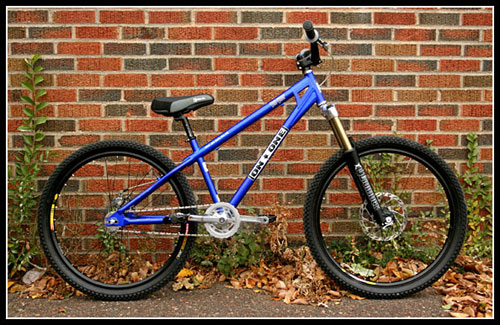
It’s been awhile since I added a new bike to the stable, let alone a knobby tired one. I wasn’t really planning on it but a few things fell into place and the next you know I was putting together the pieces needed to build up a complete bike.
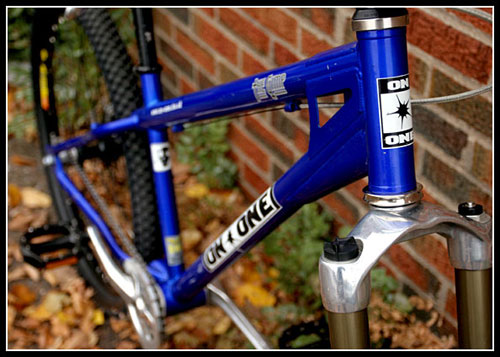
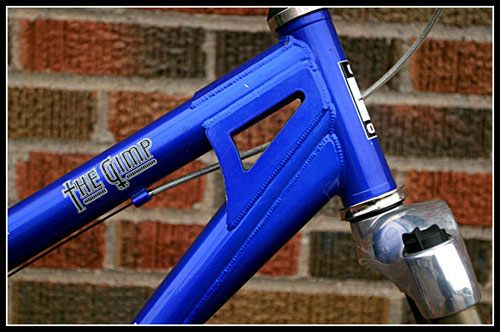
The company is On-One a British company that also makes Planet-X framesets (which I have also owned in the past).
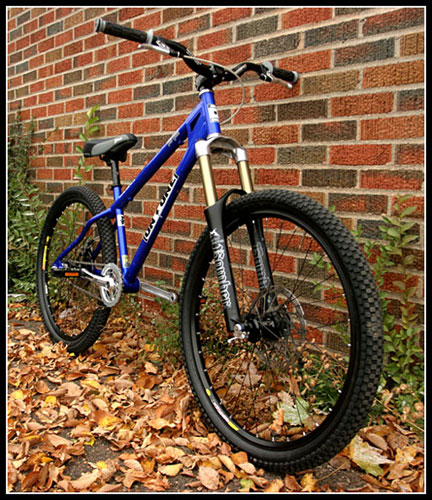
Originally I had figured to just piece it together using stuff I had around the basement but after a member of a my cycling club posted up that he was selling his suspension fork grander ideas started to swirl through my head. I emailed him an offer and he agreed and I picked up the next night.
I went to my friend Andy at REI to get a new set of rubber for the ride. Oddly enough we are a distributor for the company that makes them but to get them would be a pain in the butt so a few extra bucks is worth the lack of headaches.
All in all I think the bike turned out about twenty times better than what I had envisioned it would be. Looking forward to trying my hand at some small jumps and just rocking some urban rides next summer.
where is the ball gag?
that is one nice ride.
care to share any tips for how you get such nice photos of the bikes and/or what you do with photoshop to make them look so nice?
Well sure Gerg. First off I use a d-slr camera so I have a bit more control over my settings than a regular point and shoot camera but even with a point and shoot camera you should be able to get nice images as well.
I try to avoid having to use the flash, especially when working with an item like a bicycle where the flash can be reflected on the parts. Sure you can use a softbox or other purposes to remove this harsh light but for our purposes try to pick a time of the day where the light is more even.
Once you’ve taken your fantastic shots, remember get down get up find a new angle to make a fresher photo, import them onto your computer and fire up your Adobe Photoshop.
In Photoshop I use a variety of different tools to tweak my images. Mainly I usually start by doing some of the auto adjustments to see what they get me. Auto Contrast, Auto Levels, Auto Color, if any of these are not pleasing just back up a step.
After that if the photo still needs more I usually end up playing with the levels tool, dodging tool (usually set for highlights), the history brush, the auto highlights/shadows adjustment, color balance, etc.
Of course I just love little borders so I usually will run a quick action that I have saved that will first add a small white frame (image>adjust>canvas size) and then the same steps for the black frame.
Save for the web and whala!
when do we see the 10′ drop shots?
So have you jumped any fire with that thing yet?